Terrain Modeling
·2 min read
How to Create a Terrain from an Image with Contour Lines
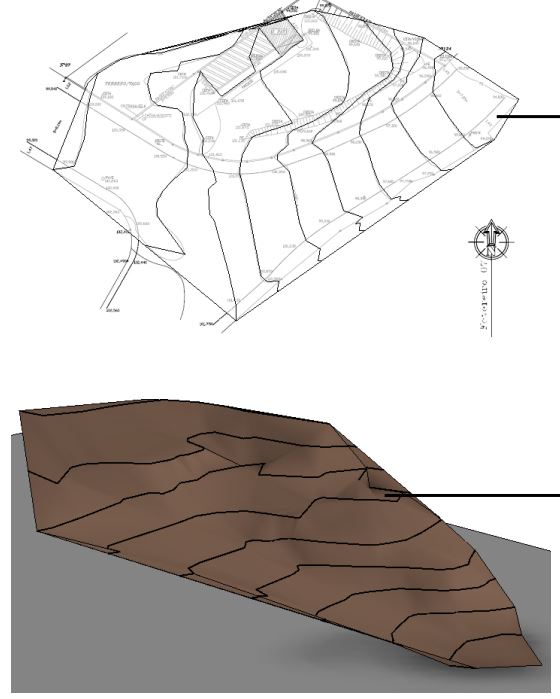
There are several ways to start terrain modeling in Revit. You can create a terrain without any prior reference (that is, from scratch), create one from an imported image with contour lines to use as a reference, or use the more common method, in which you import a .dwg file containing the topographic survey.Let's see how to create a terrain surface using an image as a reference
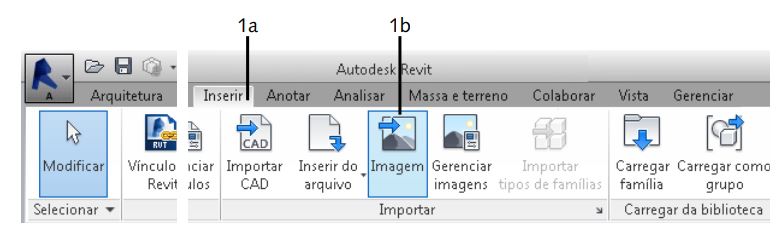
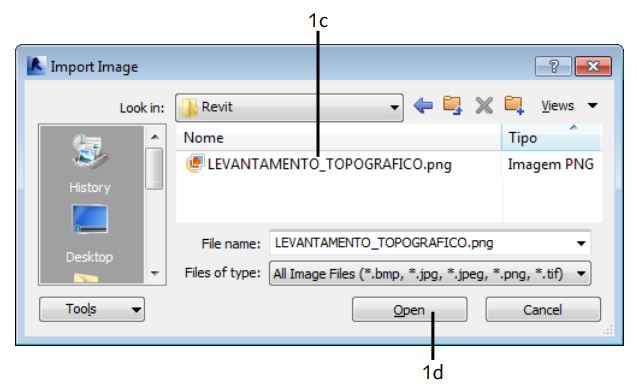
1. Import the image file that contains the contour lines that will be used as a reference to create the terrain. To do this, go to the Insert tab and click Image. In the window that opens, find the reference file and click Open.
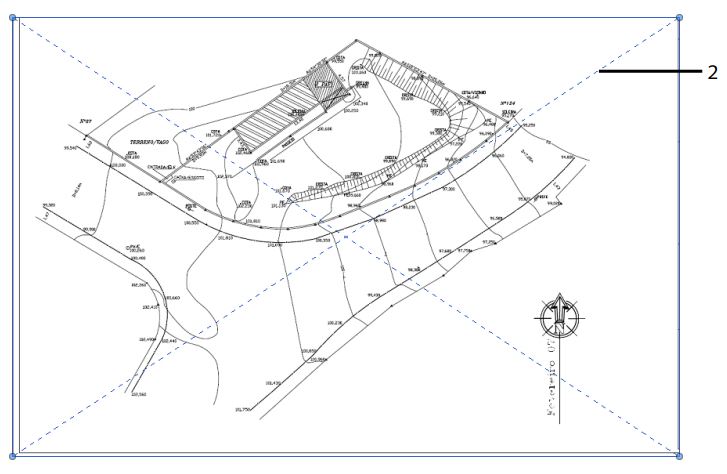
 2. Move the cursor across the drawing window and click where you want to place the reference. Check that the image is at the correct scale; if it isn't, select the image and use the Scale tool to fix the scale.
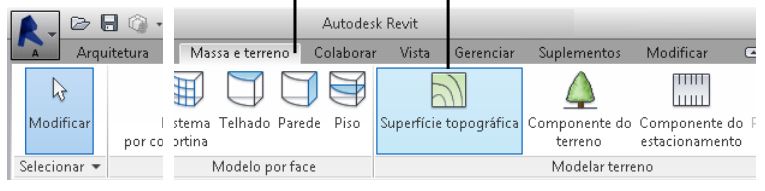
 3. Go to the Massing & Site tab; in the Model Site panel, click Toposurface.
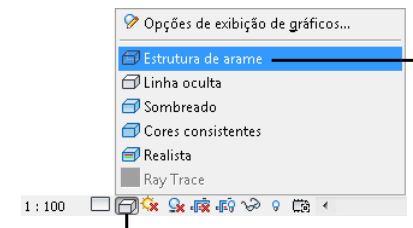
 4. Click the Visual Style button, in the bottom-left corner of the drawing window, and choose the Wireframe option, so the visibility of the new terrain doesn't hide the reference image.
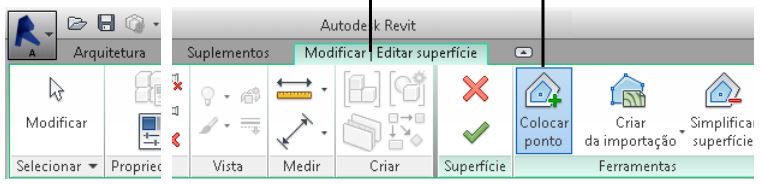
 5. Go to the Modify|Edit Surface tab; on the Tools tab, click the Place Point button.
 6. Click on all the points in the image that you believe are good references for building the terrain.
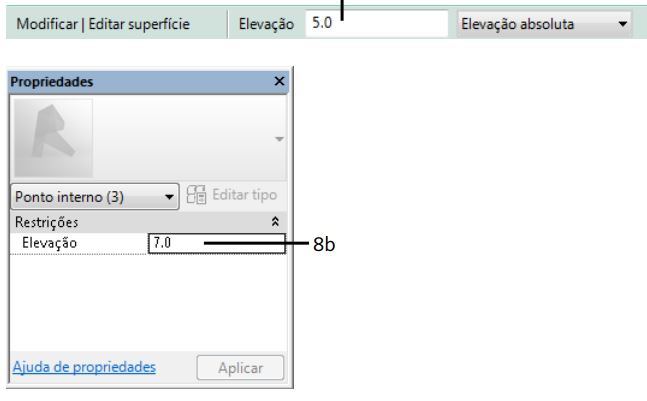
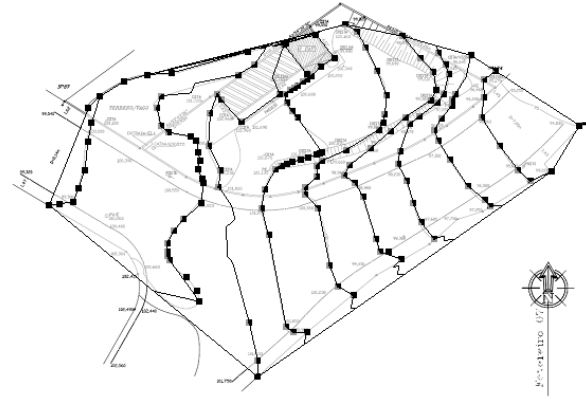 7. To set the elevation of each point you click, you can, before clicking a point, set its Elevation in the options bar. If you want to set the elevation after clicking (or change a value you already entered), select the point (or points) and change the Elevation field value in the Properties window.
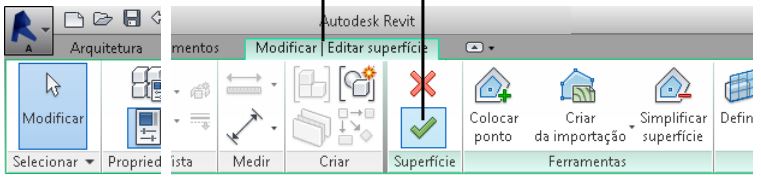
 8. When you finish the work, go to the Modify|Edit Surface tab; in the Surface panel, click the Finish Surface button.
 9. See the result of the operation in a plan view or a 3D view.