How to Create Lights in SketchUp Without Rendering!
·1 min read

One wish SketchUp users have is to someday be able to use lights beyond the sunlight the software simulates, such as point lights and spotlights. Since that's still a (very) distant dream, I'm writing a tip on how to simulate a spotlight in SketchUp.
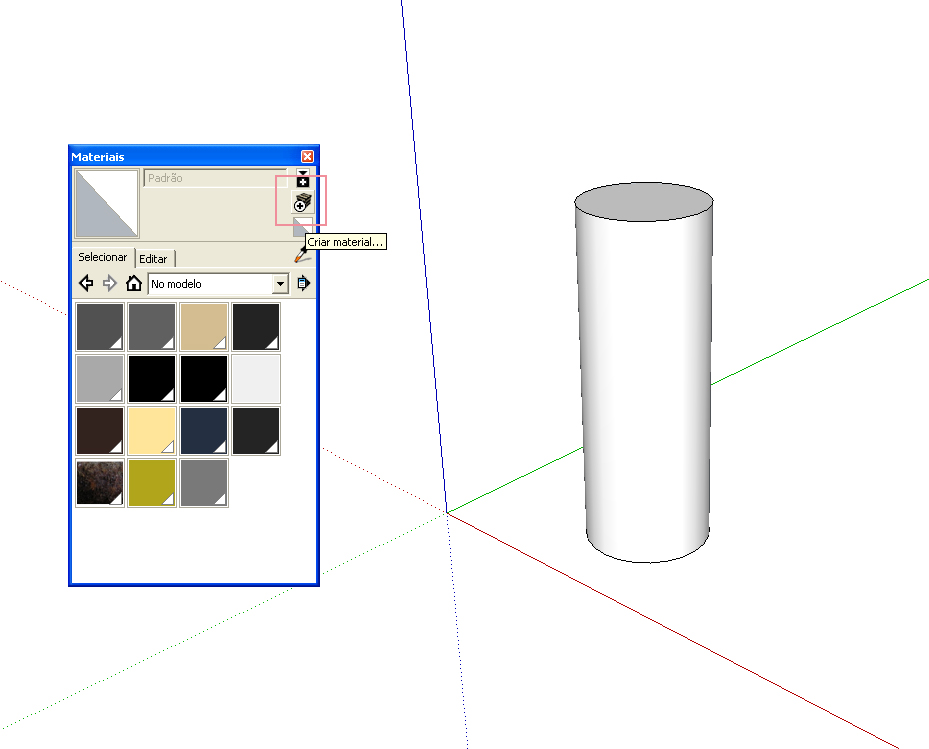 For this, you'll need a .png image with a gradient from a color to transparent, and a cylinder in SketchUp.
Create a new material by clicking the button shown in the image.
For this, you'll need a .png image with a gradient from a color to transparent, and a cylinder in SketchUp.
Create a new material by clicking the button shown in the image.
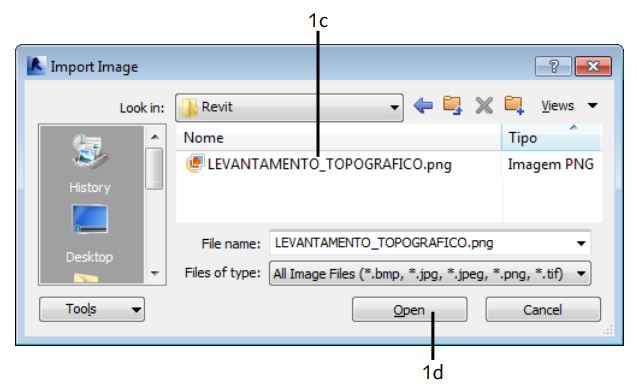
 To use the light image file, click the icon indicated by the red rectangle and browse to where the file is located. It's also important to estimate the size of the cylinder the material will be applied to, entering the measurement in the field indicated by the green rectangle (in my case, around 1.5m).
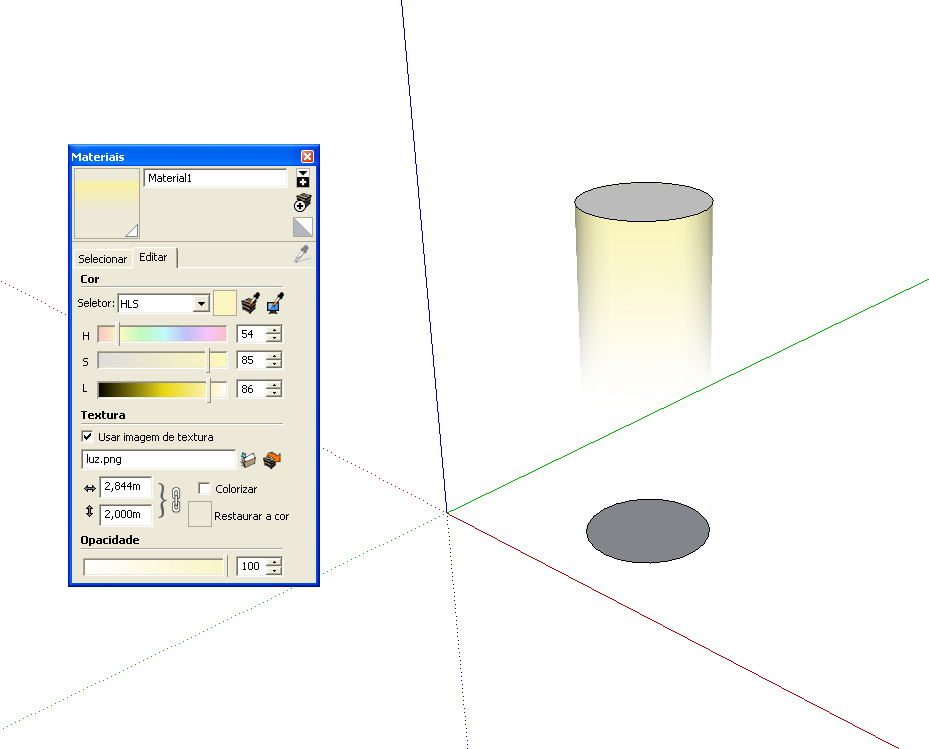
After applying the material, the cylinder should have the material applied only on its side, not on the end faces (as in the image), which should be deleted.
To use the light image file, click the icon indicated by the red rectangle and browse to where the file is located. It's also important to estimate the size of the cylinder the material will be applied to, entering the measurement in the field indicated by the green rectangle (in my case, around 1.5m).
After applying the material, the cylinder should have the material applied only on its side, not on the end faces (as in the image), which should be deleted.
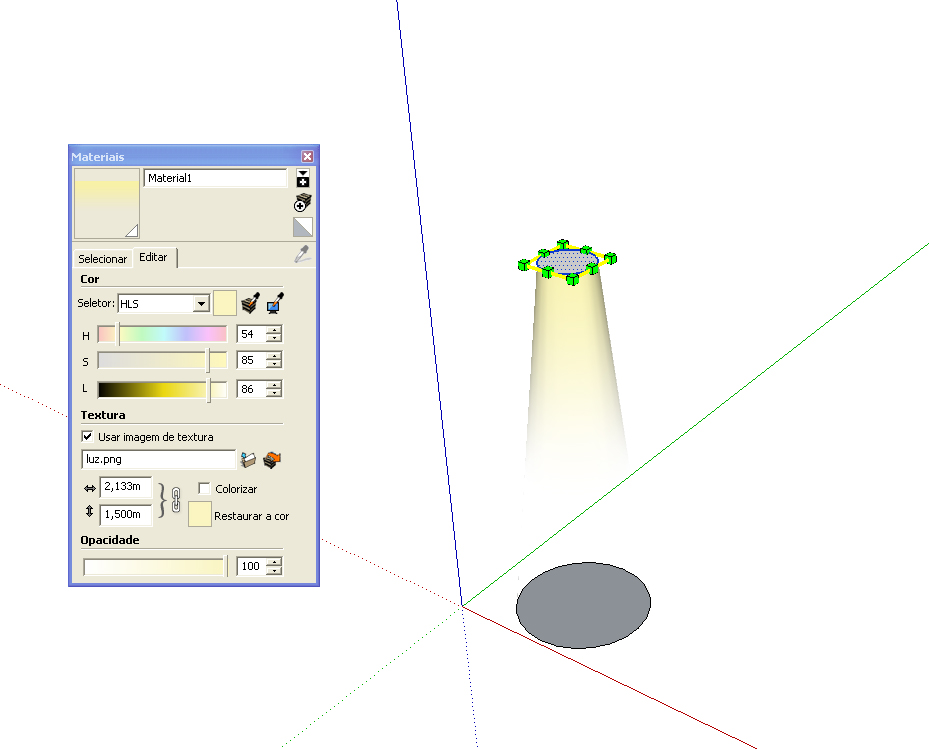
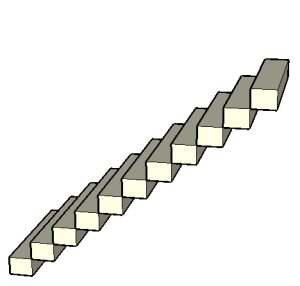 To make the light look like a spotlight, just select the circles at the ends and deform them using the Scale (Scale) tool; then hide the circle edges.
Voilà! You have a light ready to use. Make it a component and enjoy!
To make the light look like a spotlight, just select the circles at the ends and deform them using the Scale (Scale) tool; then hide the circle edges.
Voilà! You have a light ready to use. Make it a component and enjoy!
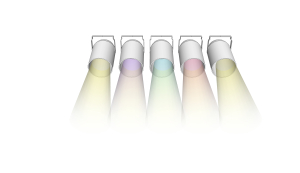
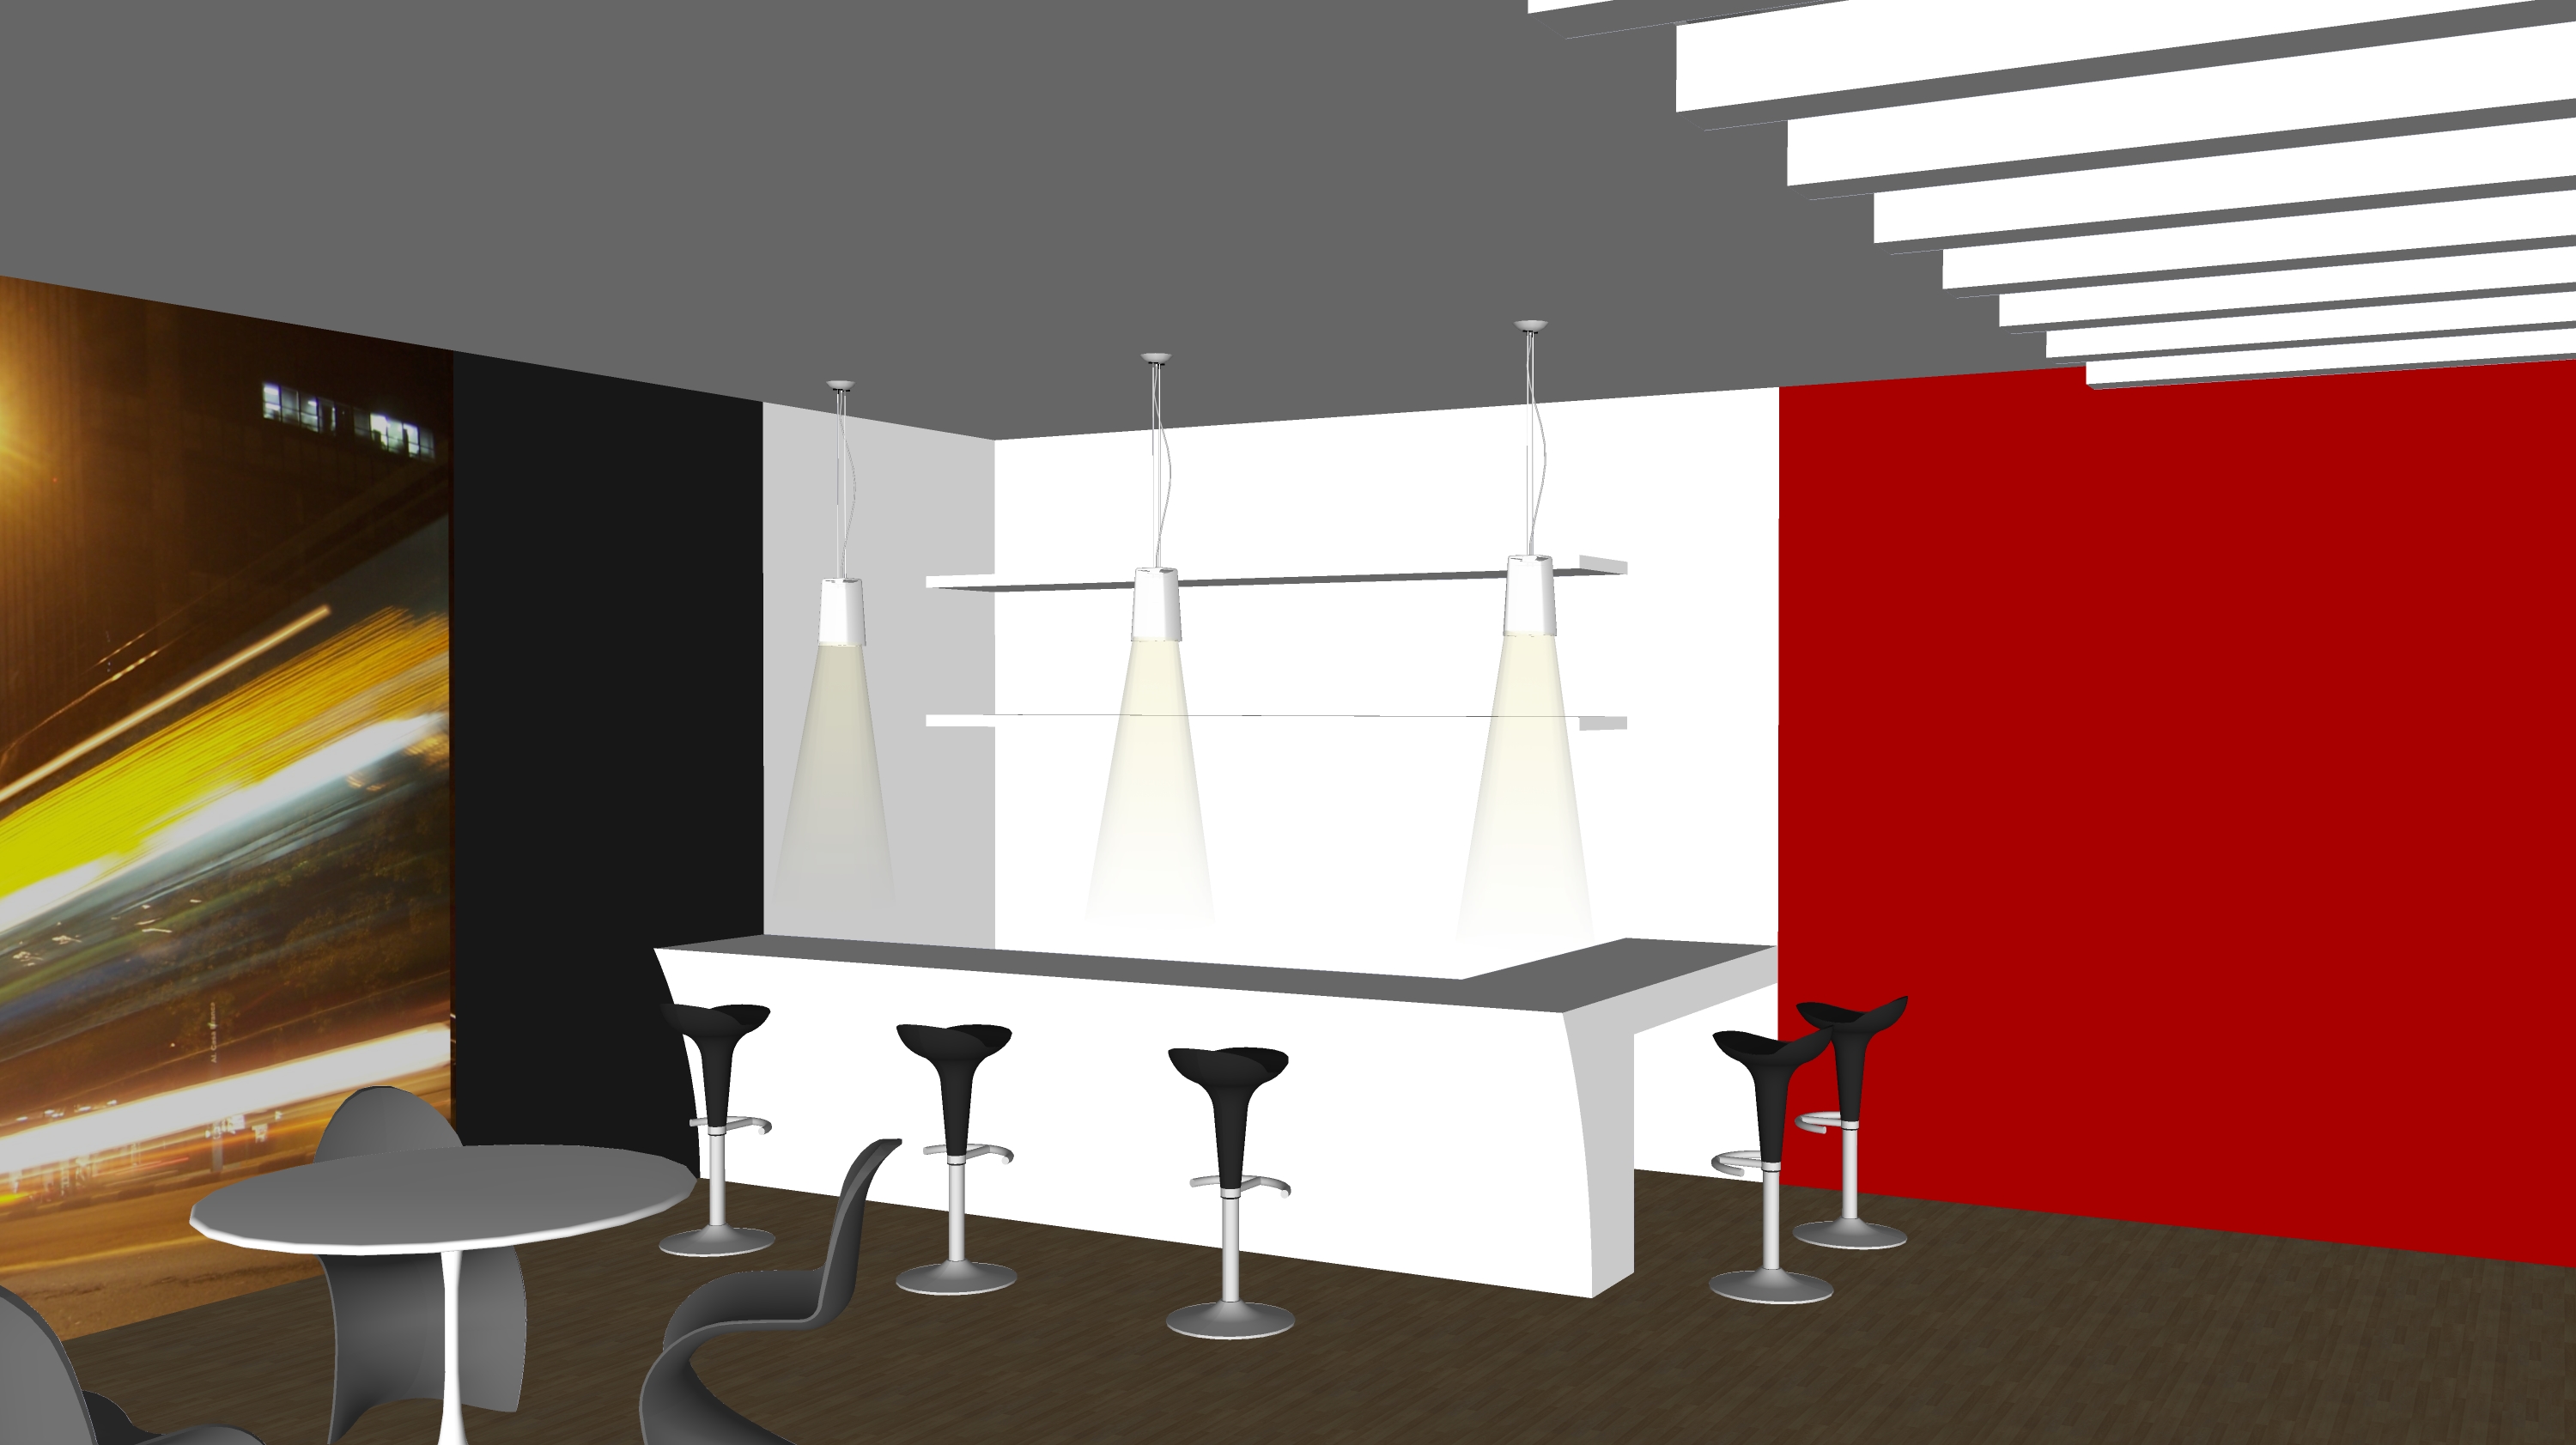
For this, you'll need a .png image with a gradient from a color to transparent, and a cylinder in SketchUp.
Create a new material by clicking the button shown in the image.
To use the light image file, click the icon indicated by the red rectangle and browse to where the file is located. It's also important to estimate the size of the cylinder the material will be applied to, entering the measurement in the field indicated by the green rectangle (in my case, around 1.5m).
After applying the material, the cylinder should have the material applied only on its side, not on the end faces (as in the image), which should be deleted.
To make the light look like a spotlight, just select the circles at the ends and deform them using the Scale (Scale) tool; then hide the circle edges.
Voilà! You have a light ready to use. Make it a component and enjoy!



