How to Color a 3D Terrain with a Projected Texture
·1 min read
SketchUp 3D terrain with colors according to altitude
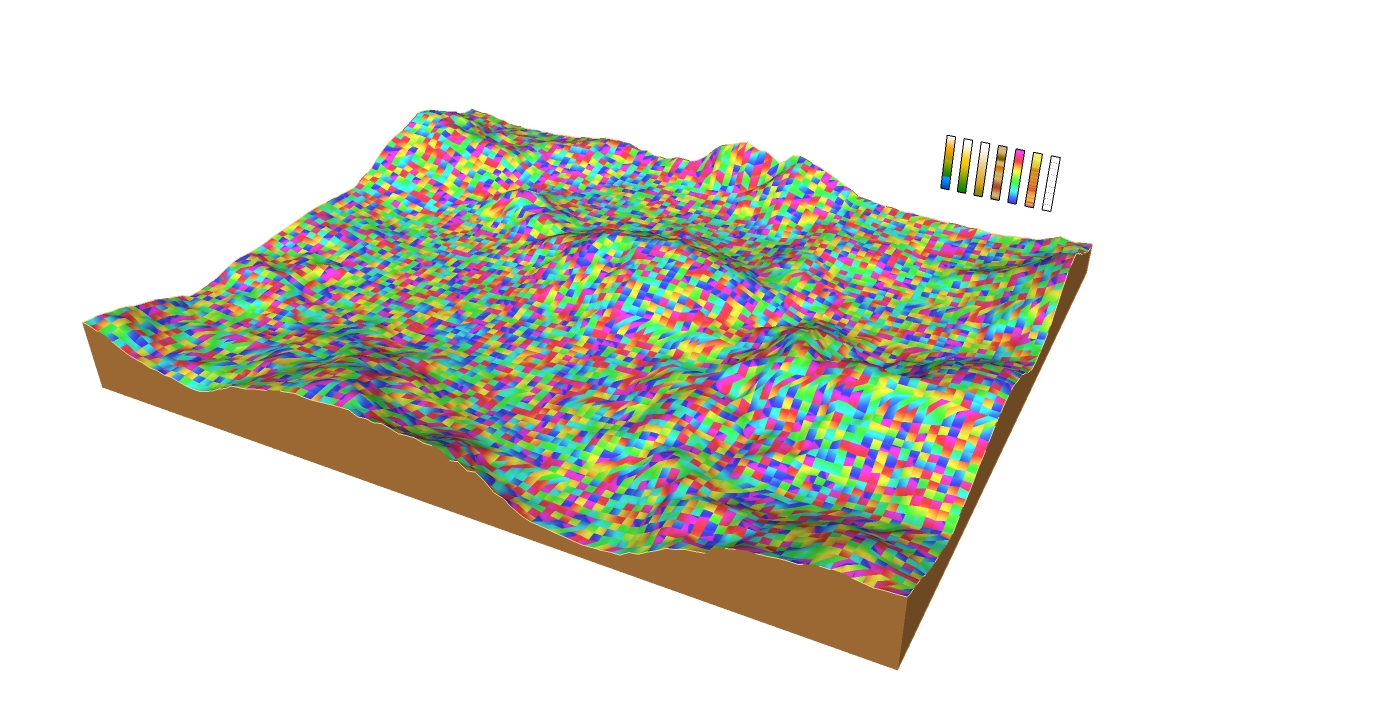
When you apply a texture to a surface, depending on the case, the result isn't what you expected. The solution in these cases is to set the texture as Projected Texture. Using this trick, you can use a color gradient to color a 3D terrain (or 3D map), according to a tip from TaffGoch, a SketchUp user and moderator of the Geodesic Help Group. The procedure for coloring a terrain with a color gradient is very simple. You'll need a texture that works as a vertical color "legend", where each color represents a different altitude of the terrain. The legend texture needs to be aligned to a vertical plane and must be applied to a face sized to the terrain's minimum and maximum altitudes. Then, right-click on the face and choose Projected Texture. Activate the paint tool, use the eyedropper to capture the color of the face with the corresponding legend, and apply the texture to the terrain. [caption id="attachment_277" align="aligncenter" width="600"] Normal texture application on the terrain.[/caption]
[caption id="attachment_276" align="aligncenter" width="600"]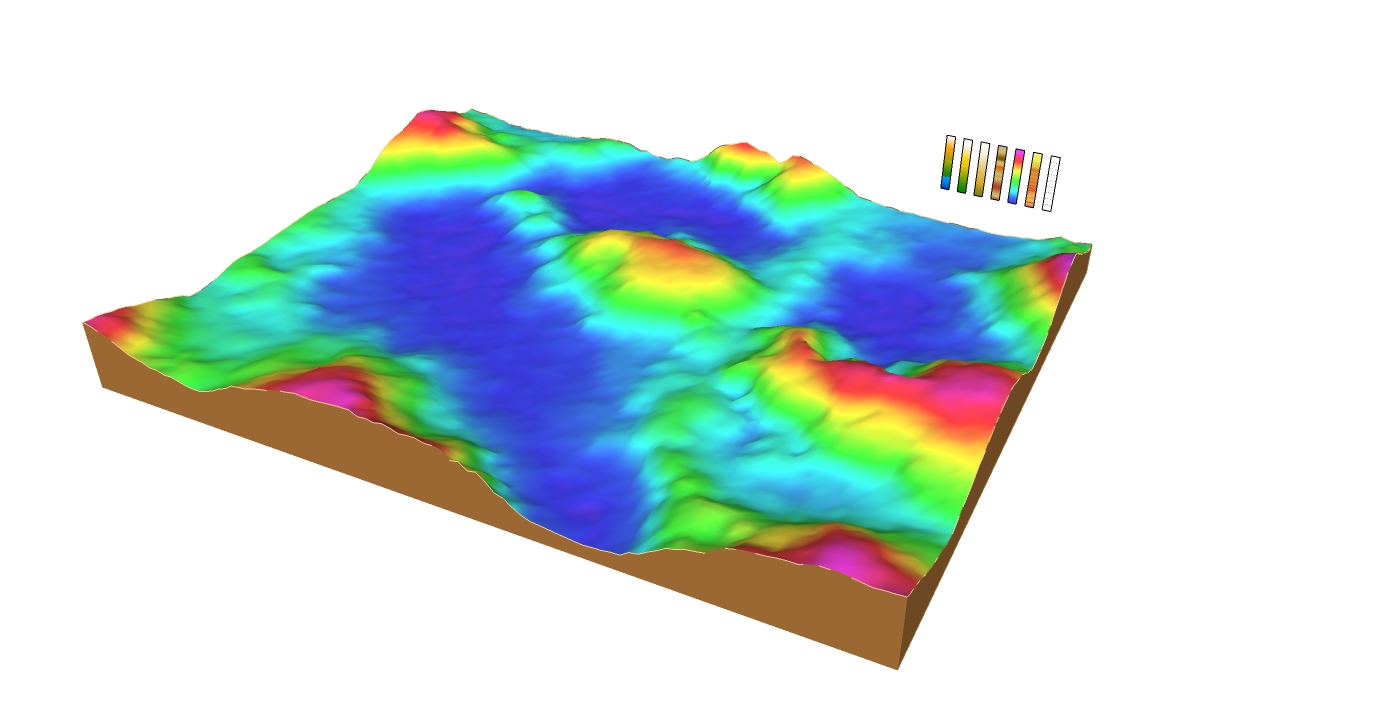 Projected texture application on the terrain. The colors indicate altitude levels, according to the texture's definition.[/caption]
At this link you can download the 3D terrain model above, posted by TaffGoch on the 3D Warehouse. The model already has some faces with color gradients. Try painting it and see how to achieve a complex geoprocessing result without using plugins.
Projected texture application on the terrain. The colors indicate altitude levels, according to the texture's definition.[/caption]
At this link you can download the 3D terrain model above, posted by TaffGoch on the 3D Warehouse. The model already has some faces with color gradients. Try painting it and see how to achieve a complex geoprocessing result without using plugins.


