Shaded Sketch Presentation - SketchUp + Photoshop
·2 min read
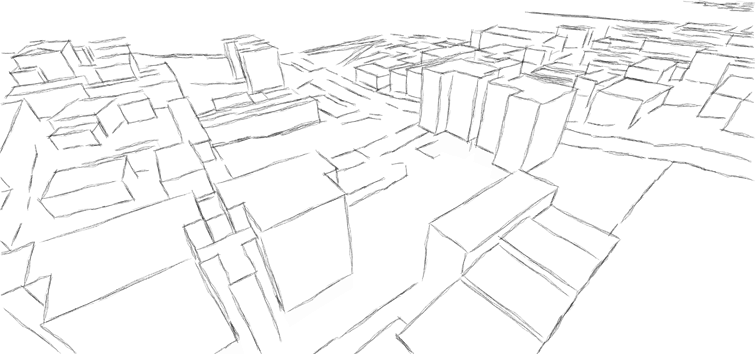
A nice and practical way to get a very realistic sketch from SketchUp:
In SketchUp:
- Choose a Sketchy Edges style you like;
- Turn off shadows and export the image (Fig. 1);
[caption id="attachment_672" align="aligncenter" width="512"] Fig. 1: Sketchy Edges style[/caption]
- Turn on shadows and, in the Estilos window, erase the edges via the Editar menu, and export the image (Fig. 2);
[caption id="attachment_674" align="aligncenter" width="512"]
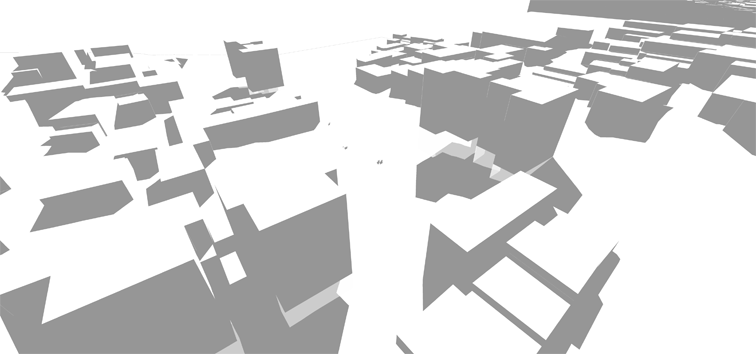 Fig. 2: Shadows[/caption]
In Photoshop:
- Open the image with the lines;
- Insert the image with the shadows into a new layer;
- Apply a Levels to the shadows to darken them enough to ensure good contrast with the white background (Fig. 3);
[caption id="attachment_675" align="aligncenter" width="512"]
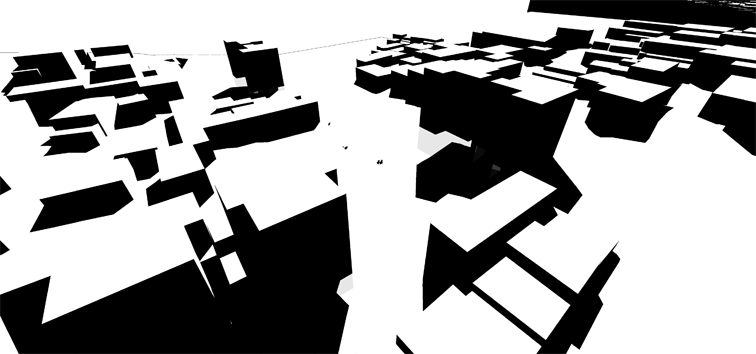 Fig. 3: Adjusting the Levels on the shadows[/caption]
 - Still on this layer, make a Color Range selection on the black to select the entire shadow area;
- Apply a Feather (Shift+F6) of 3 px to the selection (or more, depending on the image size; in this case the image is 4000 px wide);
- Hide the shadows layer and create a new one, without undoing the selection;
- Choose a Brush similar to SketchUp's style and scribble across the whole page (Fig. 4) — you'll only be drawing in the shadow areas. Press Ctrl+H to hide the selection outline and make it easier to see (a graphics tablet pen was used to increase the realism of the shadow strokes);
[caption id="attachment_682" align="aligncenter" width="640"]
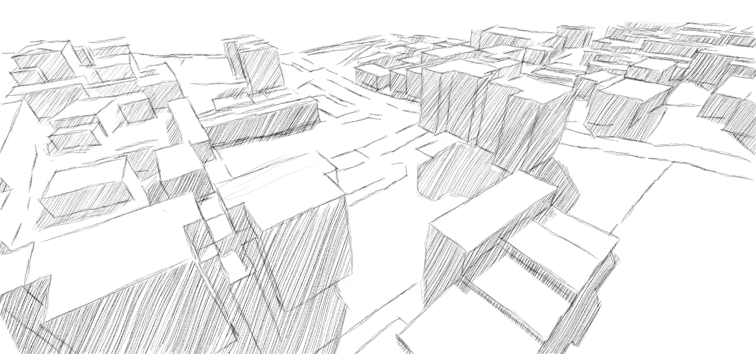 Fig. 4: Final Drawing[/caption]



